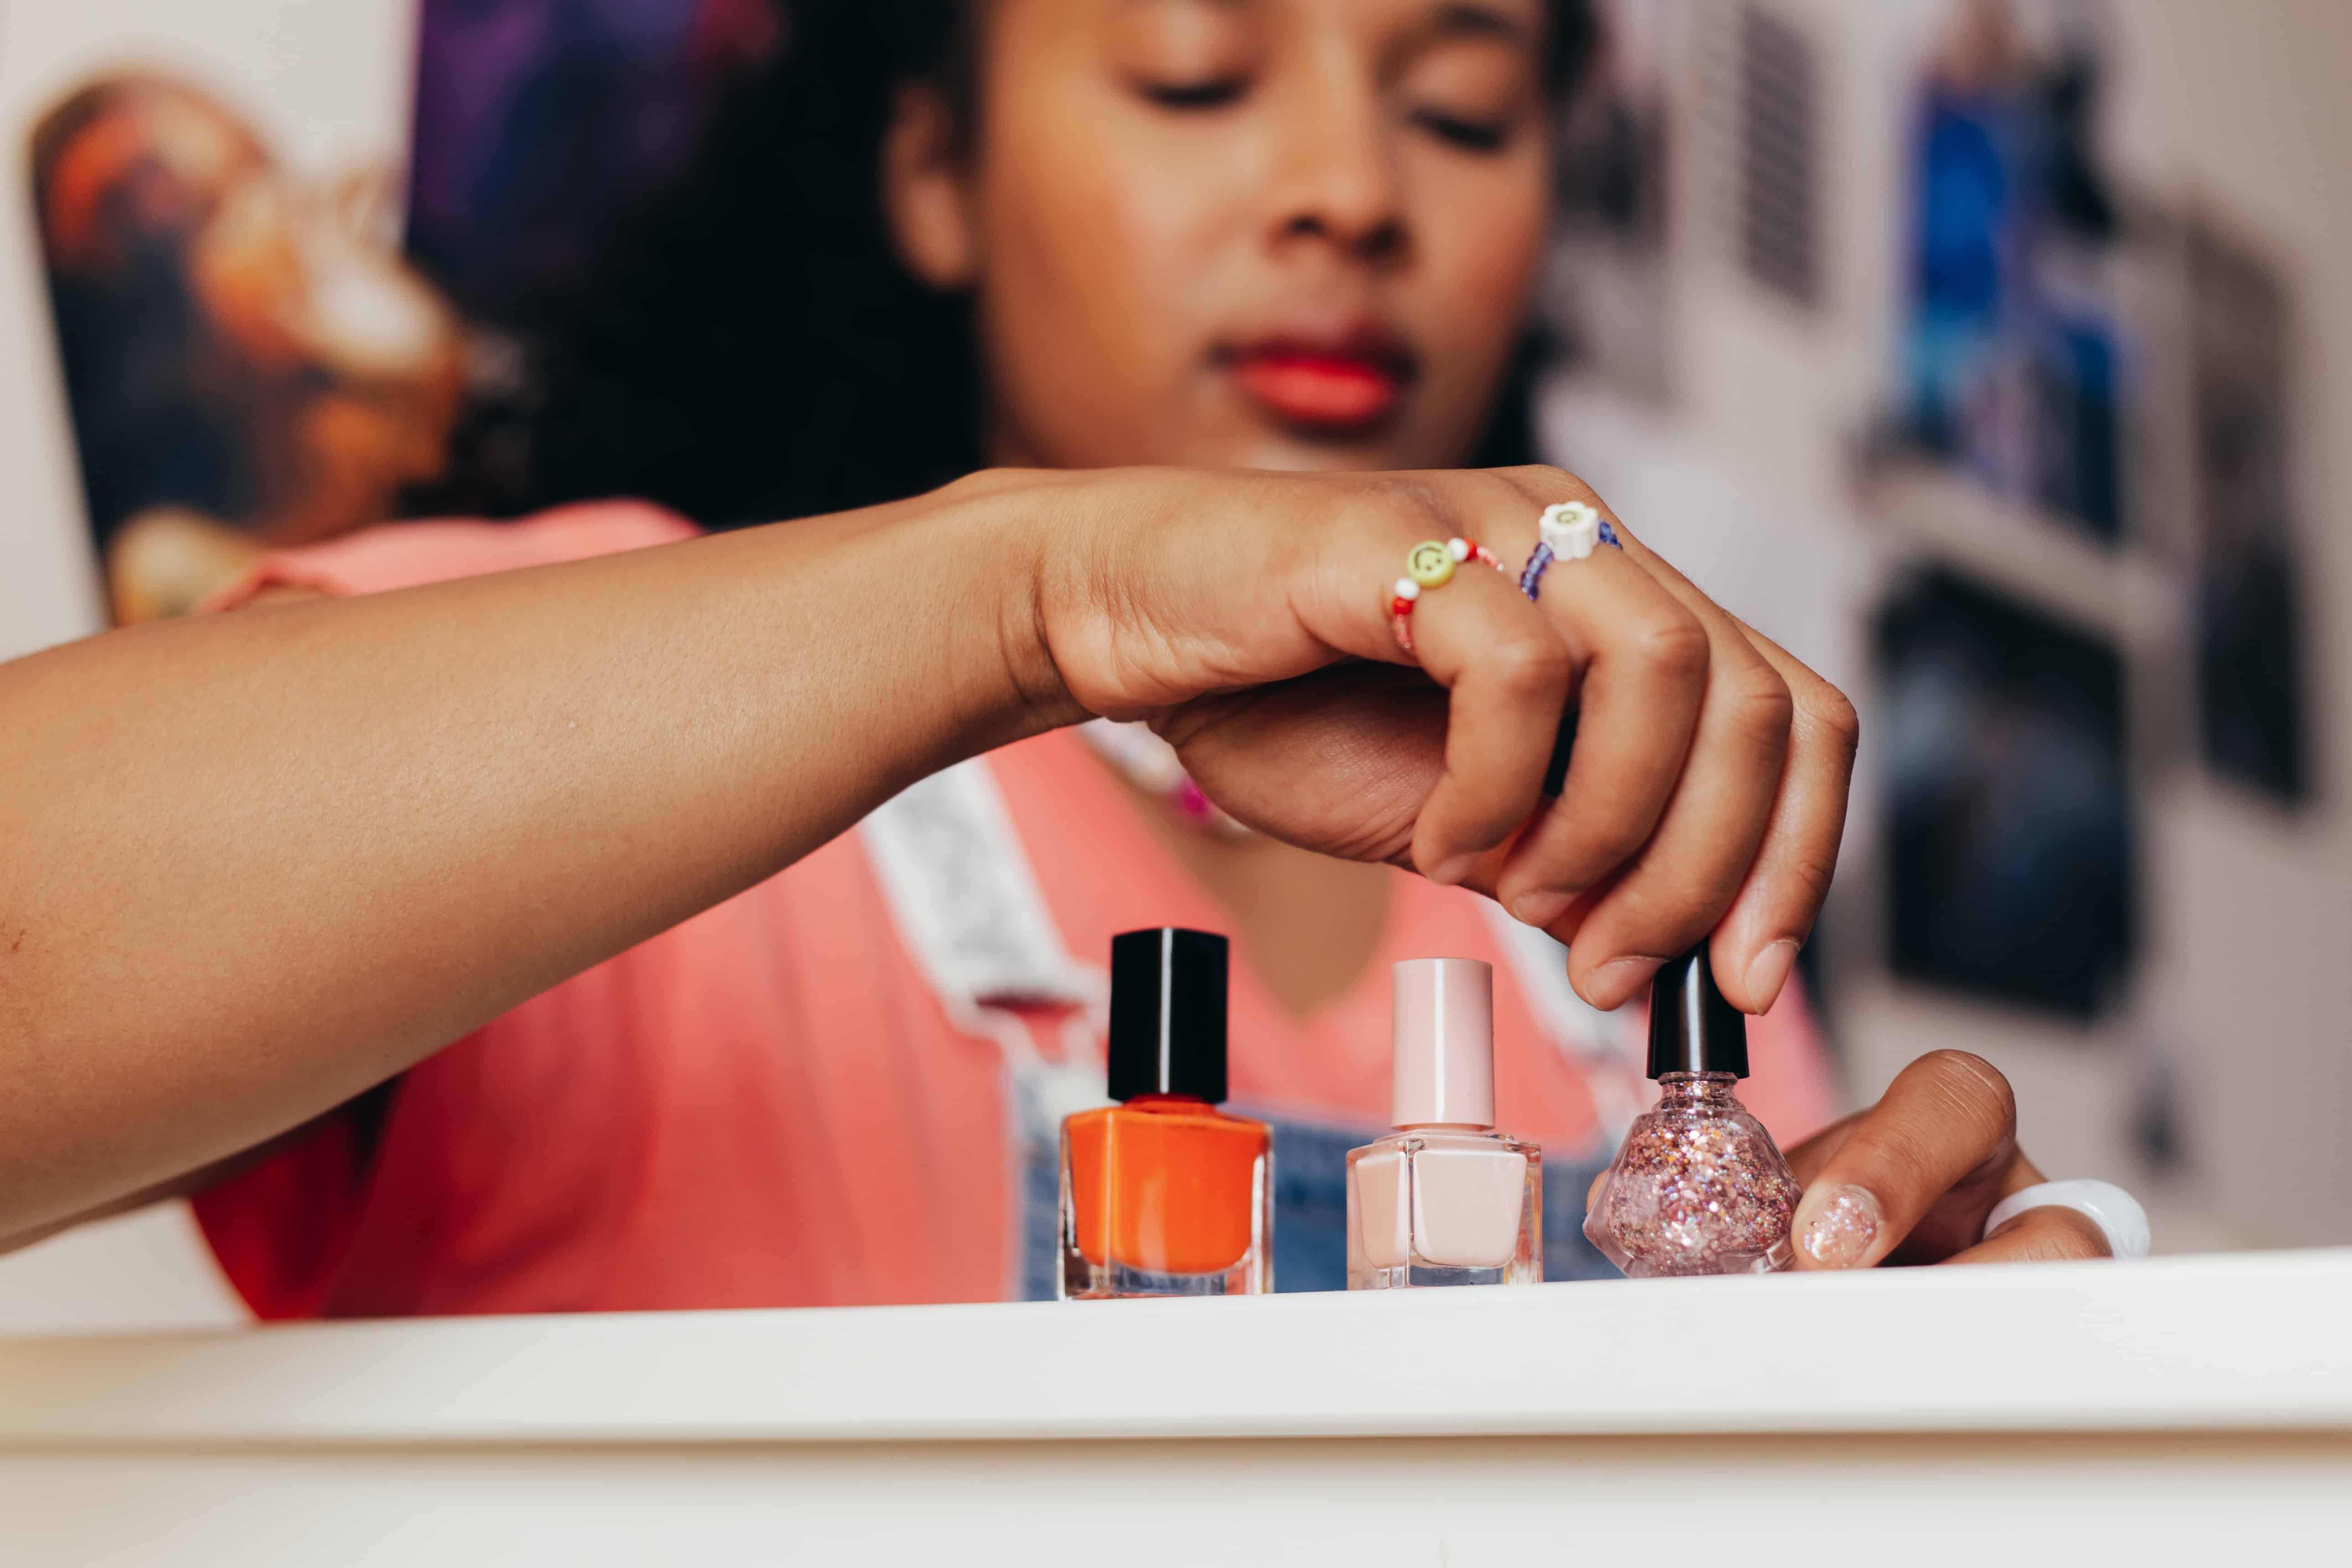
The Ultimate Guide to DIY Polishing: Gel Polish & Nail Kits Edition
In the bustling arena of beauty, there’s one contender that consistently stands out: the perfectly polished nail. Whether you’re an office goer making an impression, a stay-at-home parent juggling life, or just someone who loves a little bling, your nails are your personal canvas. With the invention of gel polish and the advent of all-inclusive nail kits, the DIY manicure world has been turned on its glossy head. Let’s dive into the mesmerizing universe of DIY polishing with https://laymihairessentials.com/recommends/gel-polish-and-nail-kits-5/
1. Why Gel Polish?
Gel polish has made a substantial splash in the nail world for multiple reasons:
- Durability: Ever painted your nails and then promptly chipped them opening a can of soda? Gel polish is your armor against such beauty blunders. With a longevity that traditional polish can’t match, gel nails can gleam chip-free for weeks.
- Shine Factor: Gel nails boast a shine that would make a chandelier envious. It’s the gloss, the gleam, the glam!
- Quick Drying: Say goodbye to flapping your hands like a bird trying to fly. With a UV or LED lamp, your gel polish dries faster than you can binge an episode of your favorite show.
2. The Allure of Nail Kits
Having a nail kit is like possessing the Excalibur of beauty. It’s a power move. Here’s why:
- All in One: No more rummaging through drawers looking for that misplaced nail file or cuticle pusher. A good nail kit is your manicure in a box.
- Variety: Most kits come with multiple shades of polish, allowing you to switch things up on a whim.
- Value: In the long run, investing in a nail kit is kinder to your wallet than regular salon visits.
3. DIY Gel Manicure: The Steps
Prep Time:
- Clean: Begin with clean nails. Use a good nail polish remover to ensure there’s no old polish lurking around.
- Shape: Using a nail file, shape your nails. Square, round, almond—pick your flavor.
- Cuticle Care: Push back those cuticles gently. If you’re brave, you can trim them, but be cautious.
Painting Process: https://laymihairessentials.com/recommends/gel-polish-and-nail-kits-6/
- Base Coat: Always start with a base coat. It’s like the foundation of a house, but for your nails.
- Color Me Happy: Apply your chosen gel polish color. Thin, even layers are the key. Remember, it’s always better to do multiple thin coats than one thick gloopy one.
- Cure It: Use your UV or LED lamp to cure the polish. Different polishes have different curing times, so read the instructions.
- Top It Off: Finish with a top coat and cure it. This seals in your color and provides that dazzling shine.
Post-Polish:
- Oil it Up: Use cuticle oil to moisturize. It keeps your nails healthy and gives them a spa-like finish.
4. Tips for the Perfect DIY Gel Manicure
- Stay Away from Skin: When applying gel polish, avoid getting it on your skin. It can lead to lifting and reduces the lifespan of your manicure.
- Layer Love: If you want a deeper color, add more layers. But remember, let each layer cure before adding the next.
- Safety First: Using a UV lamp? Don’t forget SPF on your hands to protect from UV rays.
5. The Great Take-Down
All good things come to an end. When it’s time to bid adieu to your gel manicure:
- Soak It: Use acetone-soaked cotton balls on each nail. Wrap in foil and let them sit.
- Gentle Does It: After about 15 minutes, gently push off the gel using a cuticle pusher.
- Nourish: Gel polish can be drying. Post-removal, moisturize your nails and hands.
In conclusion, the world of DIY nail polish with gel polish and nail kits is vast and beautiful. It offers the promise of salon-quality nails from the comfort of your home. With a little practice and patience, your fingers will be the talk of the town. Happy polishing! Grab Yourselves some https://laymihairessentials.com/recommends/gel-polish-and-nail-kits-4/

